secure the electronics
With projects like this, you are most likely to have failures if parts are moving, exposed or loose, so it is important to secure the electronics.
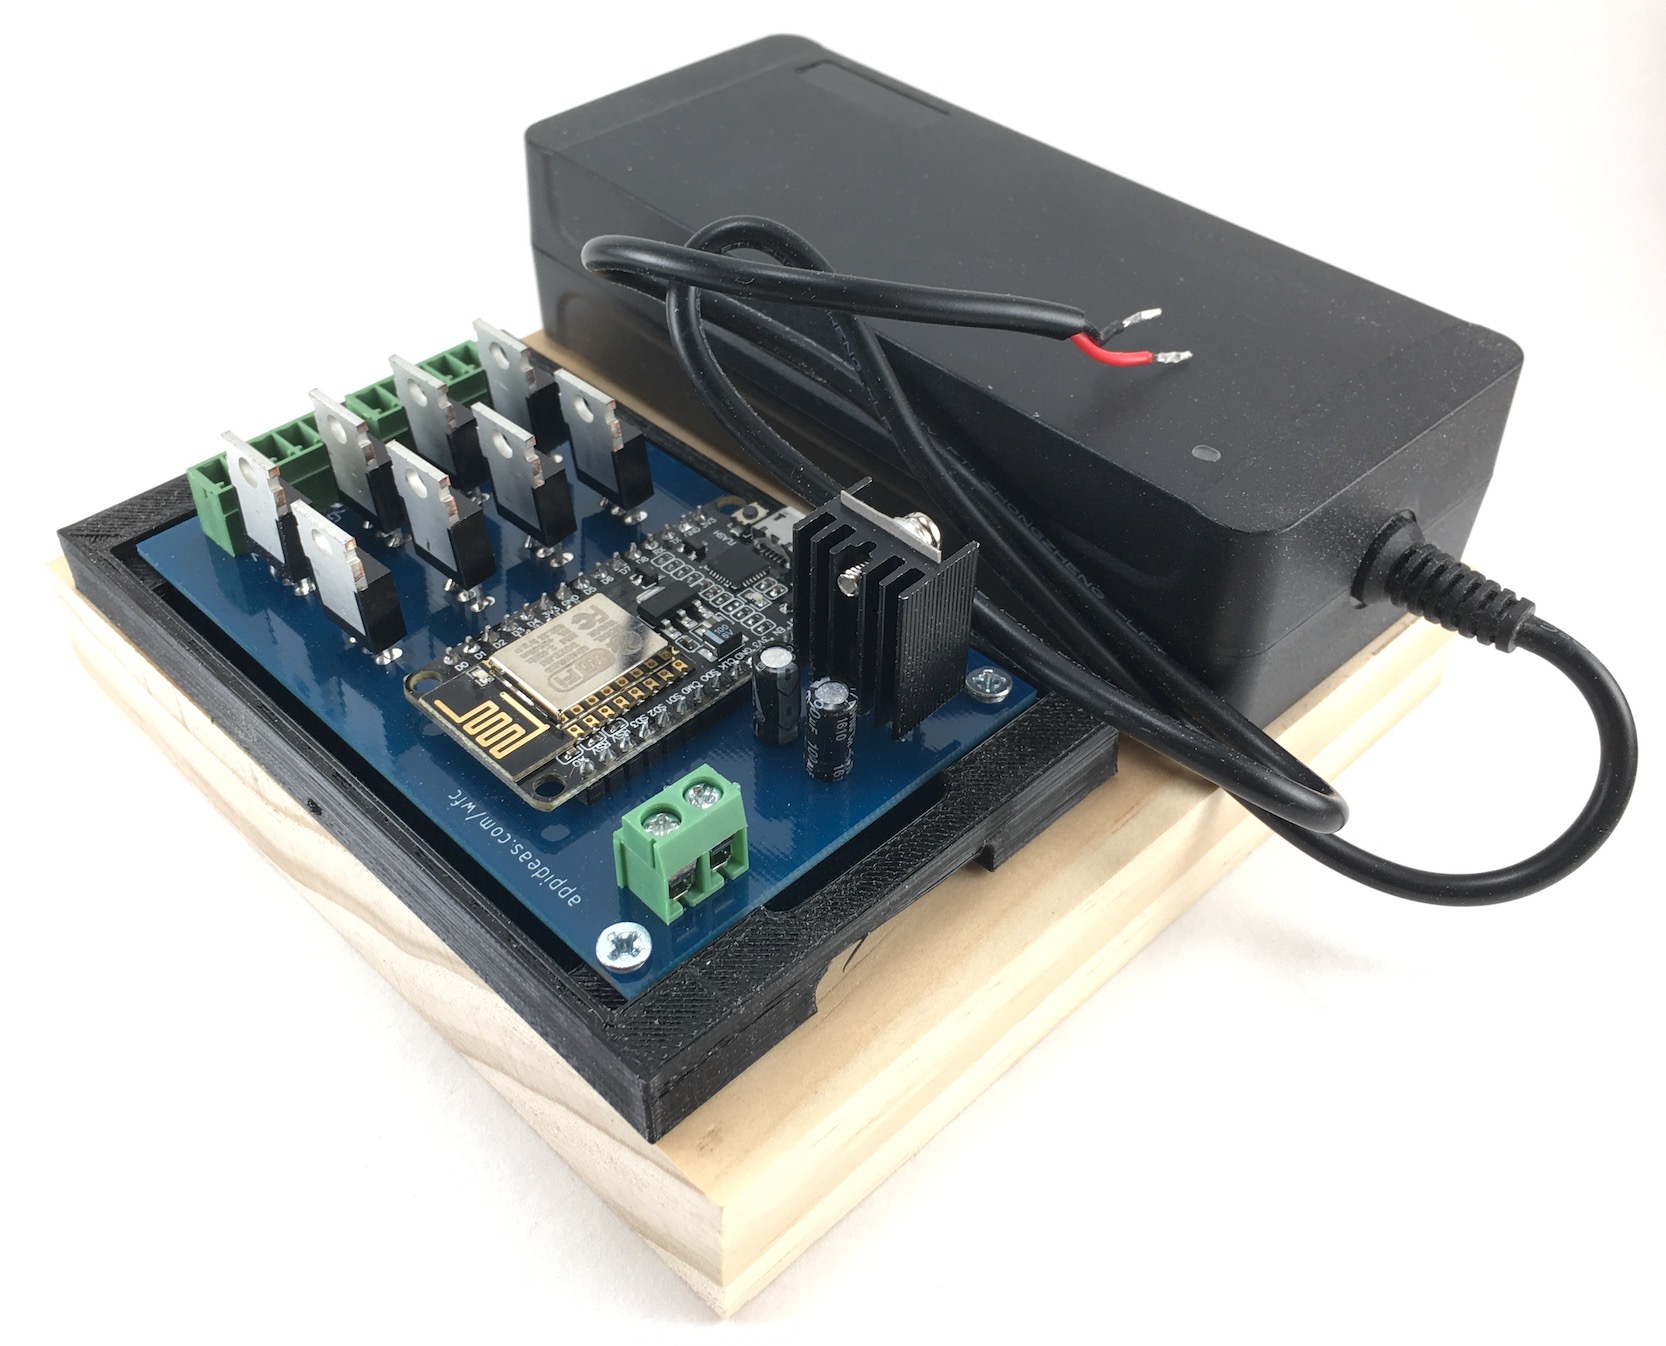
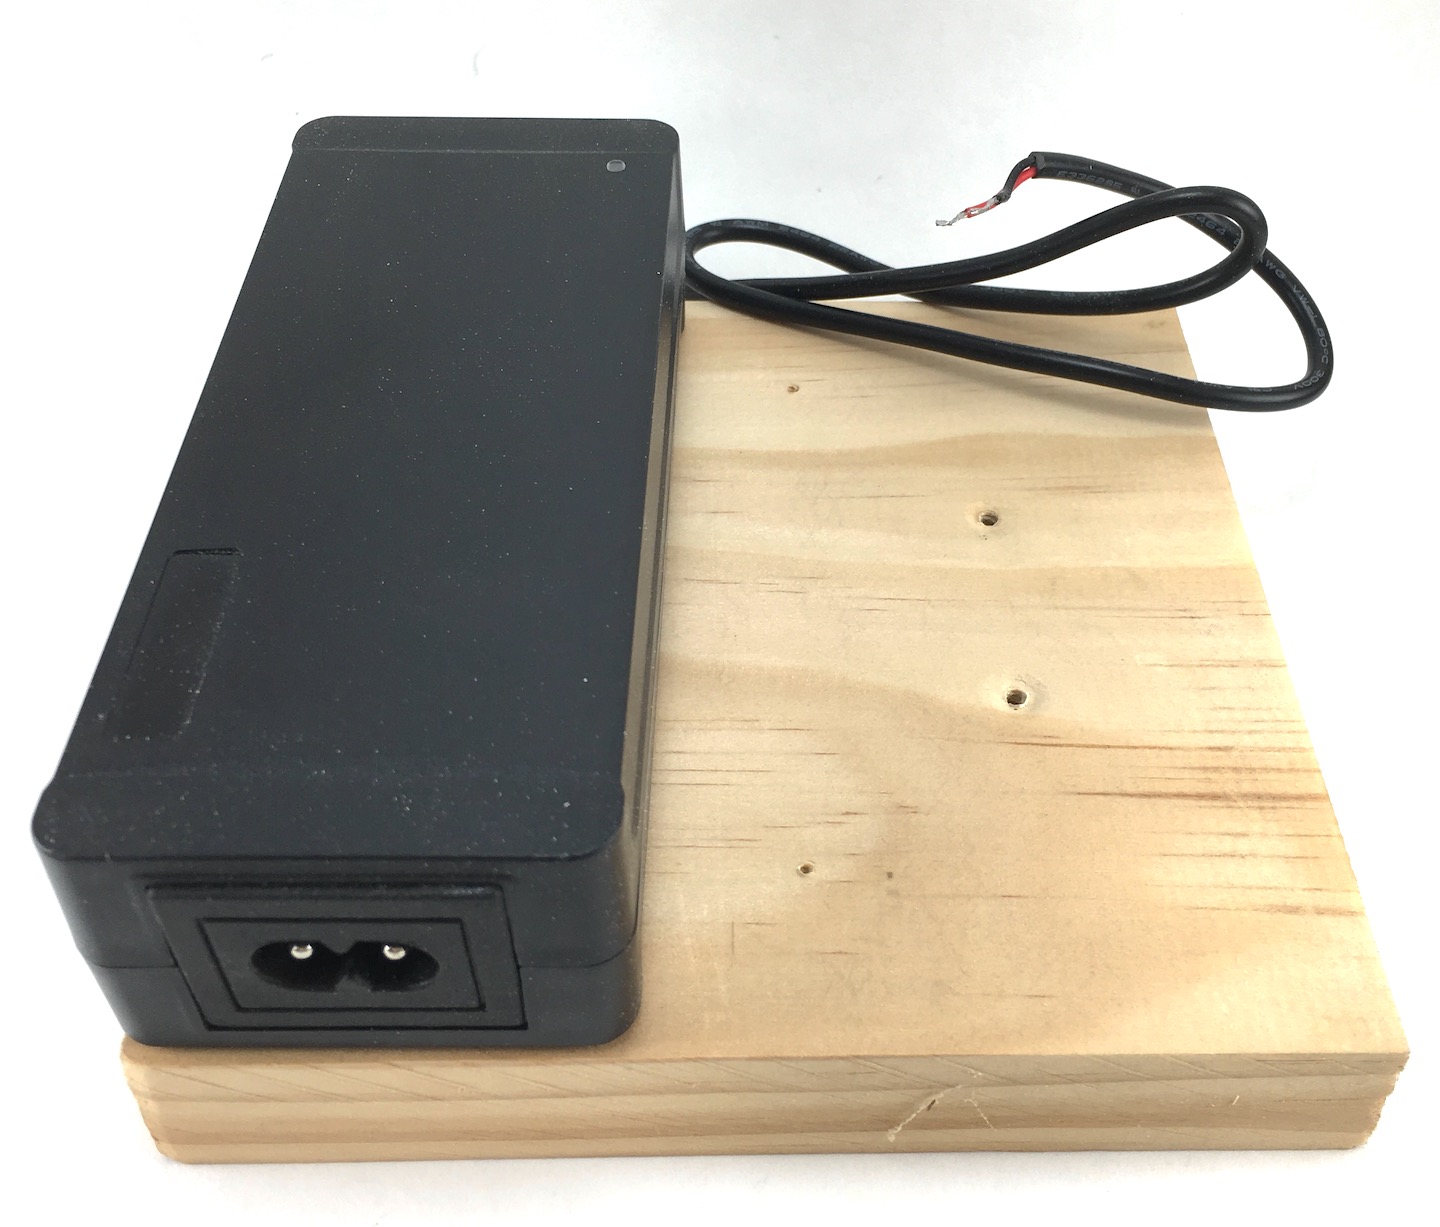
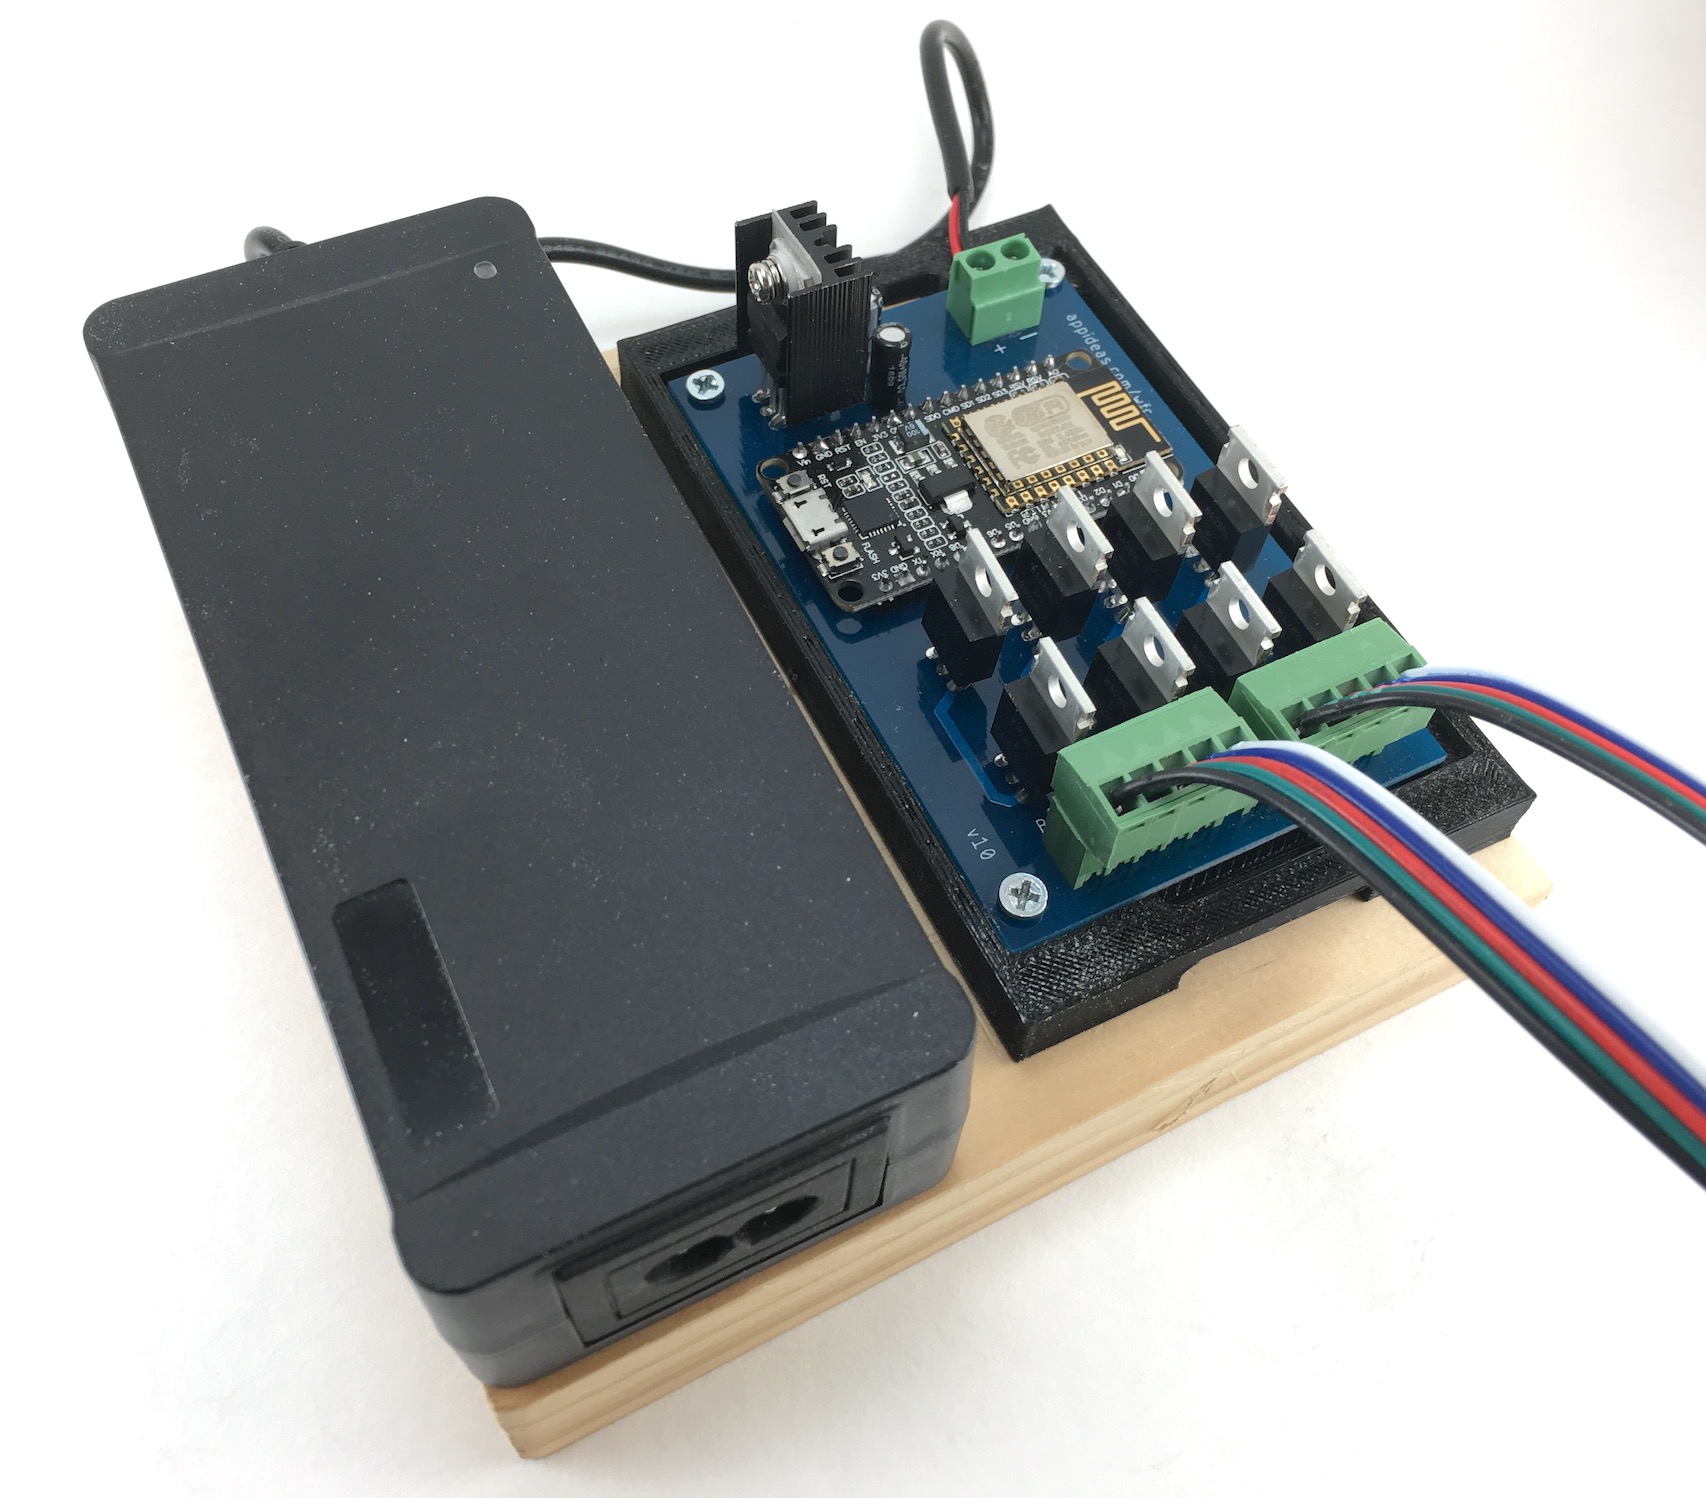
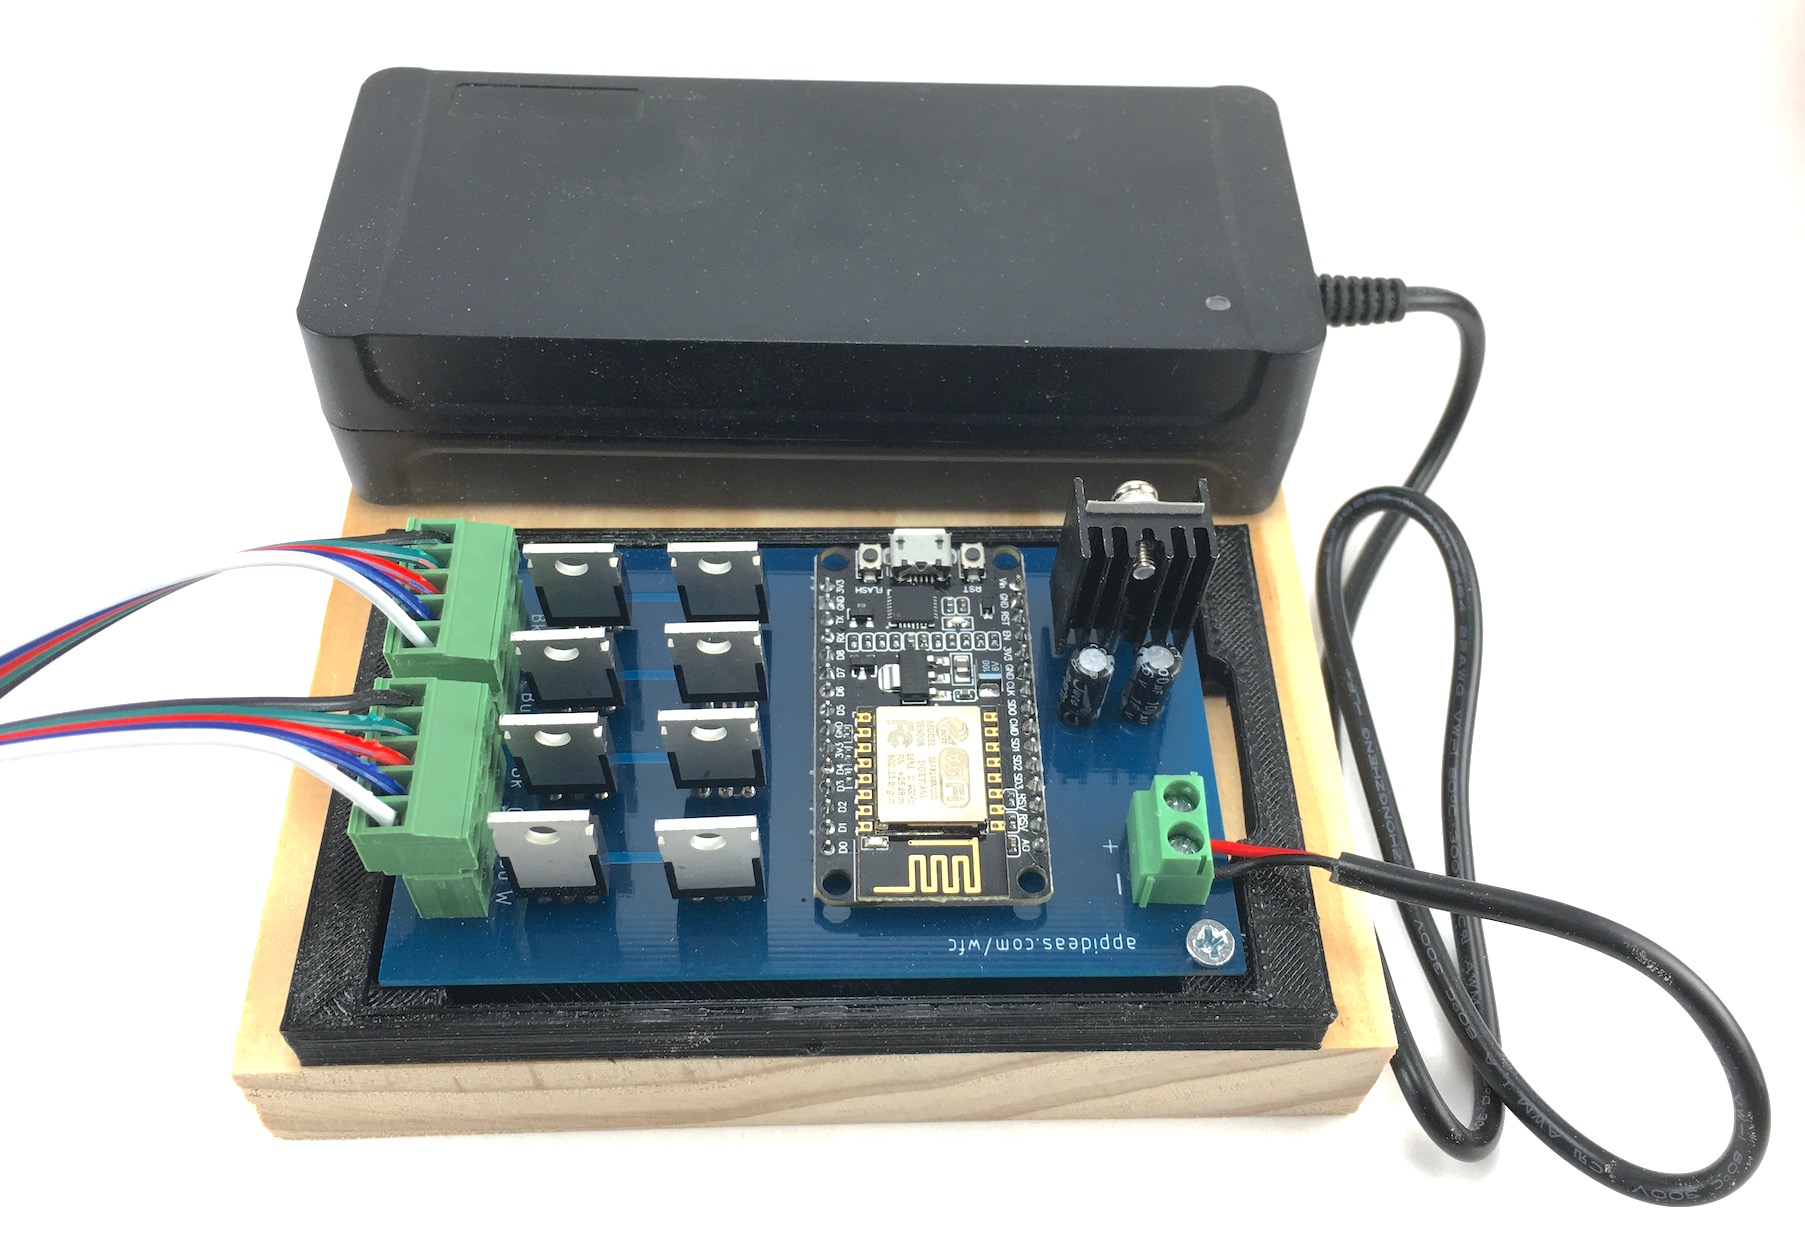
If you have a 3D printer, download the STL files below and print them. One is the base and the other is the lid. The lid is not required. Start by securing the power supply to a small board with double-sided tape. Next, secure the electronics mount base to the board with (2) #4 – 1/2″ wood screws. Finally, secure the PCB to the base with (3) #4 – 1/2″ wood screws. If you want to modify the case, the Fusion 360 file is also available to download below.
If you do not have a 3D printer, I recommend following the same basic procedure, only skipping the 3D printed base and lid. It is important to secure the PCB to a non-conducting surface, so screwing it onto a piece of wood will work perfectly.
Note that the orientation of the base and the PCB are important since they only have screw-down holes in three corners. I prefer to install my PCBs oriented as pictured because it prevents users from plugging the NodeMCU development board into USB while everything is secured. If you prefer easier access to the USB port (and you’ll promise to be careful and not plug it in while there’s power going to Vin), there’s no harm in turning it the other way.
Table of Contents
- WiFi Controller main page
- Find parts in the Bill of Materials
- Make your own Printed Circuit Board (PCB), or
Order a PCB - Assemble the electronics
- Load the Arduino code and connect to your WiFi network
- Wire the lights and power
- Secure the electronics (you are here)
- Load and use the mobile app to control your lights


